What this blog is about

This is where Steve and Chris (feveredSteve and ChessQueen) will share the ups and downs of 2011's fun project: building a teardrop trailer.
We'll try and include all the detail we can, along with photos, so that you will know what worked and what didn't.

Thursday, 25 July 2019

The wash stand

I neglected to post about the first version of this back in 2016. Here's a photo.
It's got a "tap" made out of scrap plumbing that's attached to a table top sat on an old lab stool. I had a water container under the stool hidden by a curtain and water was pumped via the foot pump into a bowl sat on the table.

It worked pretty well, except the lab stool restricted the size of the water container we could use, so frequent re-filling. And we had to carry a lab stool around with us....

Anyhow, I've now replaced the lab stool with a custom-built stand. Having now made the adjustable leg for the table (previous post), I now had both sides of the old sewing machine table available, so I made this...
...which fits a bigger water container...
...and Chris has woven some fabric for curtains.


The table top comes off...
...and the stand concertinas up like this...
...and the other bits can pack away neatly in a bag.


Sunday, 7 July 2019

Yet another kitchen revamp

I was up early as usual when we were camping at Craven Arms earlier in the year and began making a long list of things to do on the teardrop.

Top of the list was still a bunch of things to do to the kitchen. Having used it in its latest iteration for a couple of years, the things that were not quite right had become apparent.

The cupboard arrangement just didn't work. Using the middle cupboard for transporting the gas bottle meant we had to insert the shelf and load all the food and crockery when we arrived, and then dismantle it all at the end. The arrangement of drawers under the table, while clever was just a bother. And having the batteries under the hob essentially killed some easily accessible cupboard space.

So we decided to use the cupboard under the table for the batteries (now on shelves, one over the other) and for the gas bottle in transit.

This then freed up the space under the hob for a pots-and-pans drawer (which makes more sense).

And the middle cupboard was then fitted out with drawers which offer easy access and a more permanent home for crockery, cutlery and food.

I did some tortoiseshell effect paintwork on the door fronts. I had done this in our previous home about 25 years ago, but new formula paints and varnishes dry much more quickly than they used to, so it was a bit of a challenge.

I also built a couple of new units to hang on the rail in a kind of arts-and-crafts style to add to the overall vibe.


The fixed-length table leg was always an issue on sloping ground, ie nearly always. So I needed to make an adjustable one.

I tried using a regular artists' sketching easel, which kinda worked, but it had that comedy putting-up-a-deck-chair thing that wasn't good. And adding a table top was a challenge, too. Using an old-school wooden crutch was a possible, too. But too clunky in the adjustment department.

So in the end I made one. I'd sort of inherited some wood, so I'd got plenty in stock. I drew on the easel for the adjustment mechanism and went for something a bit Rennie Mackintosh in style.


Last year's project was to add some proper electrics, so I've now got sockets in the kitchen and cabin. I'd got an old scalextric transformer which I connected to some “cigarette lighter” style plugs and put it in a fancy-schmancy box.

So I can run 12v stuff like this steampunked fan off it.

Finally replaced the LED strip light with these copperish eyeball types.

Tuesday, 16 August 2016

Revamp update #3: The kitchen

The new table is a straight swap for the old one. It's mostly made from an old treadle sewing machine table. I topped and bottomed it with some thin ply and filled up the big hole in the middle with polystyrene. I extended the leg with some odd bits I'd got lying around and attached it to the top with T-hinges and then it hooks into the same slots as the old one. Here's before and after.

The carved mouldings are the decorative top of a dressing-table mirror cut in half.

As you can see in the photos above, the cupboard under the table has always been a bit of a problem space. If the table is attached then you have to crawl under to access it. So we pinched an idea from Dave's Campenarti trailer and made a drawer unit that pulls out under the table and is accessed from the side. Here are some pictures of the construction in progress.
 We wanted to use it for pots and pans, so I decided to build it around this old freezer drawer leaving enough height to stack the pans in...
...which left enough space for a couple of drawers for cutlery and utensils.

So that meant making a box like this

Then some drawer fronts and strong runners and here it is.
There's a door front on the side (if you see what I mean) that matches the rest of the kitchen, so it hides away when not in use.

We've replaced the hob/grill/sink unit with an old Flavel hob and grill that we've had sine we used to do tents. Having the sink right next the hob just made the space too cramped. And though its an old one, the hob works really well. The rest of the space is now finished with a plain plywood worktop.
Here it is before varnishing...
 ... and here's the after. This photo also shows the aluminium "floor" to the grill, and how the table slots away in transit.
Because we use the kitchen as a "boot" space for bulky items like the awning while travelling, we've retained the hanging rail idea, but replaced the stainless steel Ikea units with something a bit more steampunk.
 There's a rail made from copper pipe across the whole width, and the mirror is a bit of stainless steel sheet in a picture frame...
... and this is another bit of sewing machine table with copper pipe rail. The "hooks" are made from an old curtain rail. I've also added hooks like these on to the Ikea kitchen roll dispenser on the right since the photo was taken.

That leaves what we did about losing the sink, but I'll deal with that in another post.


Tuesday, 9 August 2016

Revamp update #2: Front box

This was Chris' "going away to College" trunk from 1974. We used it as a coffee table base for many years, but it had been relegated to the shed for the last decade or so.

I've given it a few coats of varnish to stabilize and preserve the historic rust. You can see a couple of the stubby sofa feet that I attached to the bottom corners. These keep it off the ground so we can use it as a table while camping. The two back feet also slot into the mesh panel so that the trunk always sits in the same place while in traveling mode.

Monday, 8 August 2016

Revamp update #1: The interior

As I said in the previous post, I had just used plain plywood for the cupboard doors. They are hinged in the middle so that they don't interfere with the lights or invade the bedroom space too mich when opened. Here's a picture of the "before" state.
 I'd got 4 matching picture frames that were just right for the cupboard doors. They were exactly the right height and just a couple of inches too wide so were easily cut down to fit.
 I covered the panels with some old Liberty wallpaper which gives it a quite luxurious feel. You can see one of the lampshades I've added - they were a charity shop buy. They are the "half shade" type that are only fronts, and are finished in a kind of cream damask fabric. They are upside down at the moment, so I need to modify the wire clips so that I can attach them more securely.
 Finally we added some curtains, rather than the roll-up blinds that were there before.


Monday, 1 August 2016

Teardrop revamp

We've lived with the teardrop for getting on for 5 years and taken it to a good few places. As with many projects, there are some things that never got properly finished and some other things that didn't work out the way we intended.

Hence the revamp. Spurred on by impossible deadlines as per usual, we're going to a couple of festivals in August, so that is the irresistable force driving the work.

Here are the main areas we're planning to attack:

1. Kitchen
The sink never worked for us, so we're going to remove it and instal an "external" sink. This also means a new hob and worktop. Having the cool box under the counter didn't work either, so we need to make more sensible use of that space.

We're also aiming for an over all Steampunk vibe. It was part of the original idea for the trailer, so we're going for it...

2. Sleeping Compartment
The main thing here is the cupboard doors which were left as plain plywood. So now's the time to finish them.

3. Front Box
We're changing this for a metal steamer trunk we've got in the shed. Also adding an external light and some Steampunk additions.

Well, that's the plan. Let's see how it goes...

Monday, 20 August 2012

At Notfest in the sunshine

Showing off the new awning for the back. Well its a tiny canopy really. Works fine as long as the rain stays on the far side of the yellow line :-)

But just look how happy and proud that builder looks ...


Here we have a shot of the car (tug) and trailer ready to roll. And Rhys bringing the washing up home again. (Rare shot that one).

Some SUL-worthy trailers

Here are the promised links. Some classy trailers (including our own of course) ... thanks to Sue Watts for posting the photos that I was too disorganised to take.


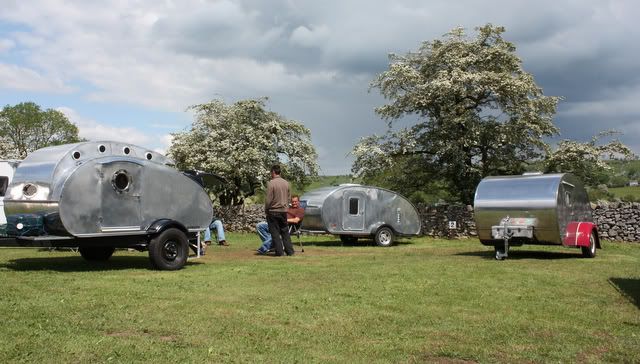
Yes, this one is us.  Here are some of our neighbours ...


from left to right is Wanda, T(b)ird and Grace with the glamorous fenders.

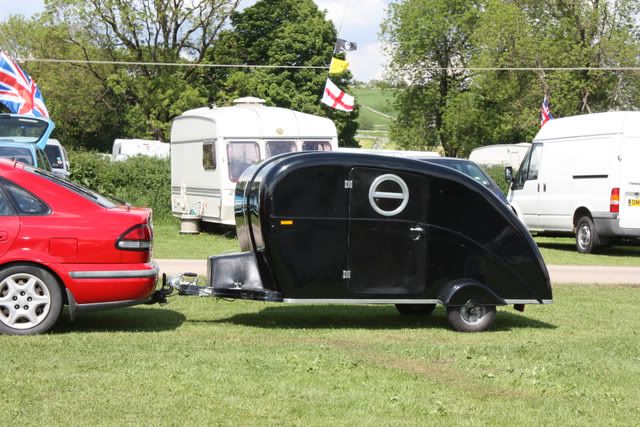
Then there was the Pod from Wales


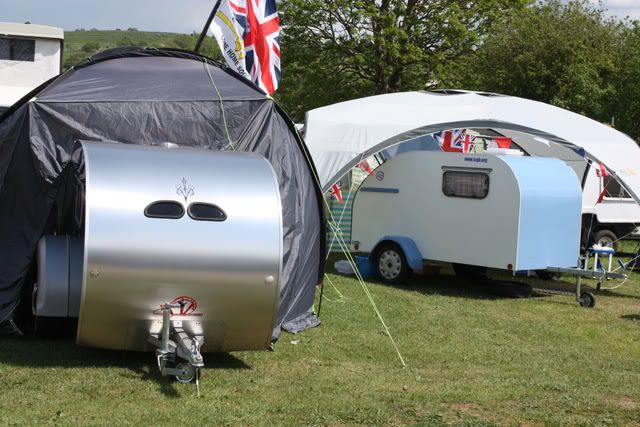
Two little gems handmade by Bob (ali)  and Paul (blue and white)


Lots more pics in Sue's album of the event. All taken during a narrow window of opportunity between the rain, and the other lot of rain, and that bit of rain after that, and (you get the idea).


Tuesday, 5 June 2012

SUL - a derbyshire adventure

Just back from a great (albeit wet) weekend in the Peak District. It was the venue for the biggest gathering of teardrops in the UK ever. Proud to be part of it.

Because of the weather and other distractions I left the photographing of teardrops to other people (feeble excuse and I will do a proper round up shortly linking to the doubtless superior shots of better photographers). For now I'll share some of the photos that I did take.

First, a photo of two of the best know teardroppers (Jackdaw modelling his cockrell-proof invention - well if you saw Chris's legs after a good pecking you would see the merit of these) and also Two Showers with the famed Frank (the dog). Rosie's choice of headgear is giveaway about the weather conditions (cold).


The next two shots are of the bookshop where we spent some time. Within 4 miles of the campsite (at Cromford) its reputed to be one of the 10 best bookshops in the world. Great cafe behind a hidden bookcase door and a fantastic toilet on the top floor. This is what these photos show. First photo shows the Hurry Up sign - and the second the bath! Fab


Okay, these are not teardrop-related images, but definitely in the same quirky ball-park.

Sunday, 27 May 2012

What the fashion conscious teardrop builder is wearing ...

Well strictly speaking not this weekend as the weather has been extremely hot. But it came in handy in early May. Patch purchased from Warbird's business (see TCGB forums messages about the evolution of this design and info on how to order).


The garment, in the tradition of teardrop purchasing patterns was bought on ebay (army surplus and much needed in a barn with no doors).

Friday, 25 May 2012

Sbeaky progress post ...

Things have been going pretty well for past week or so since we have A PLAN. This plan involves Steve having a whole gantt chart full of things to do. One is to finish off the outside of the trailer and we've been talking for a while about doing some form of camo (originally steampunk style) on those parts of it which are a different colour than the rest. This has come about because there was some strange variation in the sheets which we did not fully see until it was up and built.

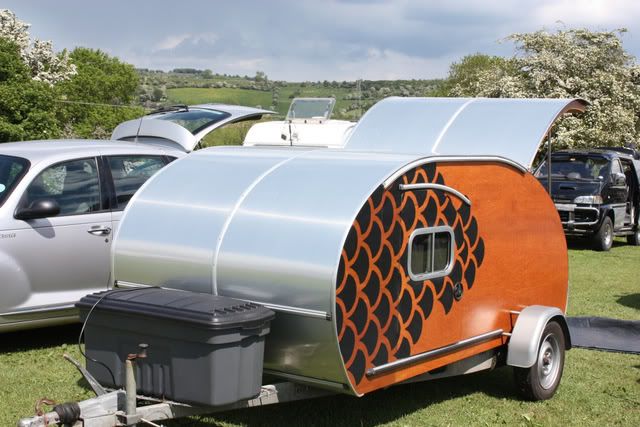
So various plans were considered including Japanese style cherry blossom. But what we've gone for is a sort of fishscale tattoo motif, stenciled in blackboard paint. Here are some pics as describing it won't do. (Click pics to enlarge).


Here you can see the streaky bits when the wood was supplied with filler in a different colour. The stencil is part done and you can see where the use of washing liquid as lube on the cill over the door has dripped and stained the wood. At this stage you can still see this wood variation (not in a good way) pretty obviously. And here ...


... its a lot less obvious. And to avoid the overall flock wallpaper we are stopping here. Its a slightly different design on the other side. We like to think of this as a Yakusa (ie. Japanese mafia) cum Maori tribal tattoo - I think you *might* see what we have in mind.

Still work to be done, notably the replacing of what Rhys calls the 'eyebrow' above the door, the placement of the awning rail and the trim around the roof to finish that edge. Oh, and the wheel will get a paint job and the wood is going to get around 6 coats of clear Yacht varnish (at least).

The great thing about teardrop trailers that are home builds is that they have a distinctive look (no losing these in the car park or mistaking it for someone elses at a campsite). Looking forward to camping in it this summer.

Why is this a sneaky post? Because Steve did the hard work and I have stolen the edge and posted about it. Well I did have a lot of say in the design and we're both pleased with how its turning out. (Thanks Steve).

Chris

Tuesday, 1 May 2012

A pivotal discovery

I've been worrying about the problem of how to attach the struts that hold up the tailgate for quite a while. But then I spotted some old castors that were lying around and I thought, "pivot... swivel..."

It was all that was needed. Ready made. So here's the first one in place. It's nice when things work out.